Build your own Magic Clock. Code, hardware, tutorials are all here, all open source.
Concept
Clock hands = Persons
Clock times = Locations

The Magic Clock reveals the whereabouts of your closest friends and family. It
magically* knows where your loved ones are, so you can find them for fun or
know when better not to call.
The position of your four friends is shown on an old grandfather clock, where the clock face has been changed to show different
locations. The clock hands indicate different friends, each pointing to his/her current location.
The clock is driven by an AtMega8 with a wifi module to receive the data. It
gets the data from a webserver which, in return, is regularly updated by
your friends' Android and iPhone apps.
The full code for Android, iPhone, AtMega and server can be forked on github.
Electronics
The centerpiece of the clock is an atmega8 microcontroller, which controls four servomotors and four RGB LEDs (one for each hand). An RX/TX wifi module, which connects to the internet, retrieves the server-data.Assembly diagram
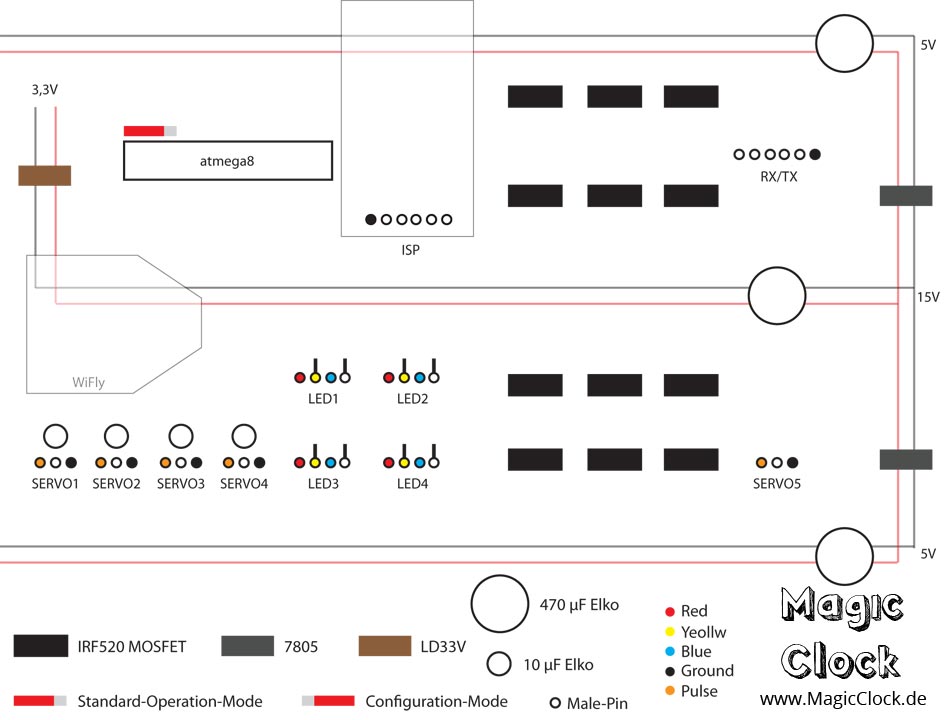
We used 12 IRF 520 MOSFETS to make use of the full 12 volts power and get shiny, bright LEDs. The servos however are directly connected to the microcontroller and controlled via PWM. We used several capacitors to get a reliable and stable power supply, mainly for the servos and the wify module. To get the several desired currents we used some 7805 voltage converters (5V) and one LD33V (3,3V).
The board can be either set in the standard operation mode or in the configuration mode. The configuration mode disables all standard outputs but allows connecting a pc via the RX/TX or ISP interface to maintain the microcontroller or the wify module.
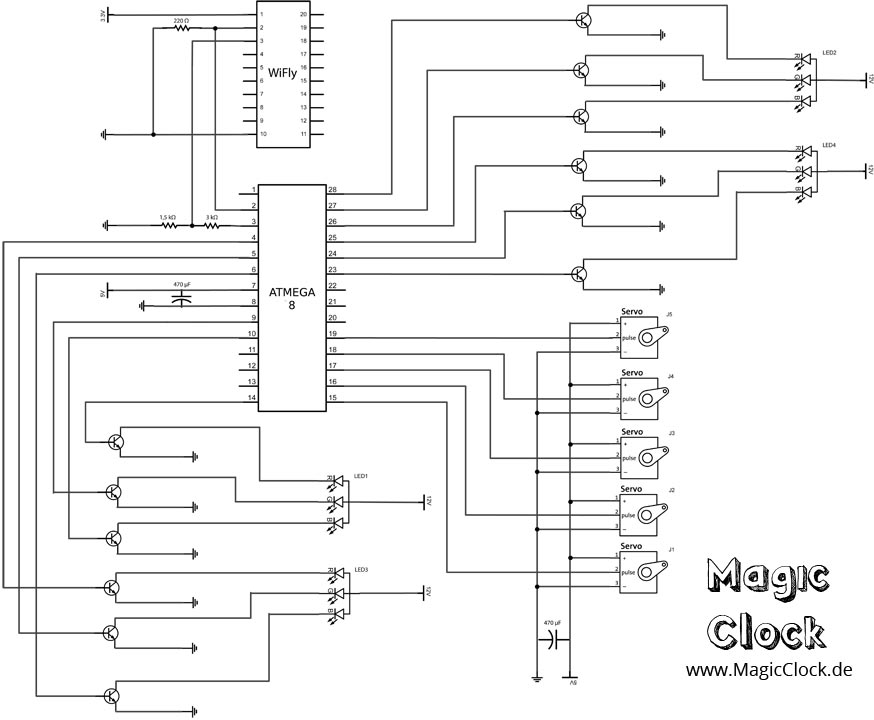
Circuit Diagram
Code
The code for the atmega8 microcontroller is written in C and is currently in a beta stadium. It sure can be optimized concerning Performance and power consumption. Important features are the recognition of timeouts and the two-way communication with the wify module.Clockwork
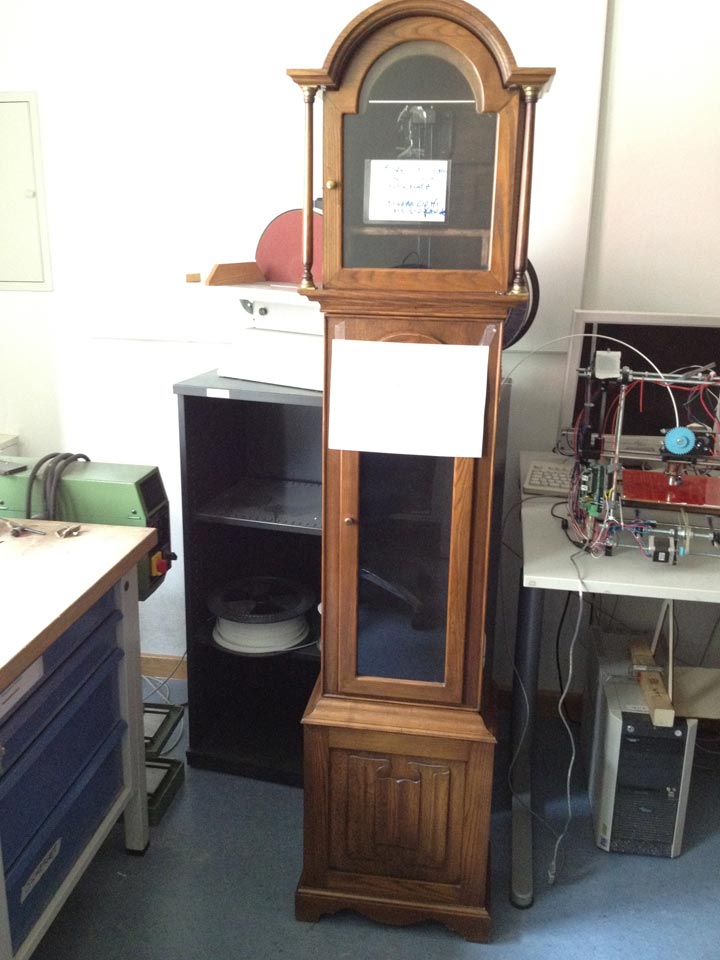
At the beginning of our brainstorming we all dreamed about a wooden grandfather clock.
Our eager efforts to find a suitable one soon brought up lots of options. All priced well above 100 €,
even the used ones on Ebay.
Unfortunately our budget was very limited and so we had to drop our thoughts of building on an old
fashioned clock. We were making plans on creating our own modern design out of acrylic glass and were
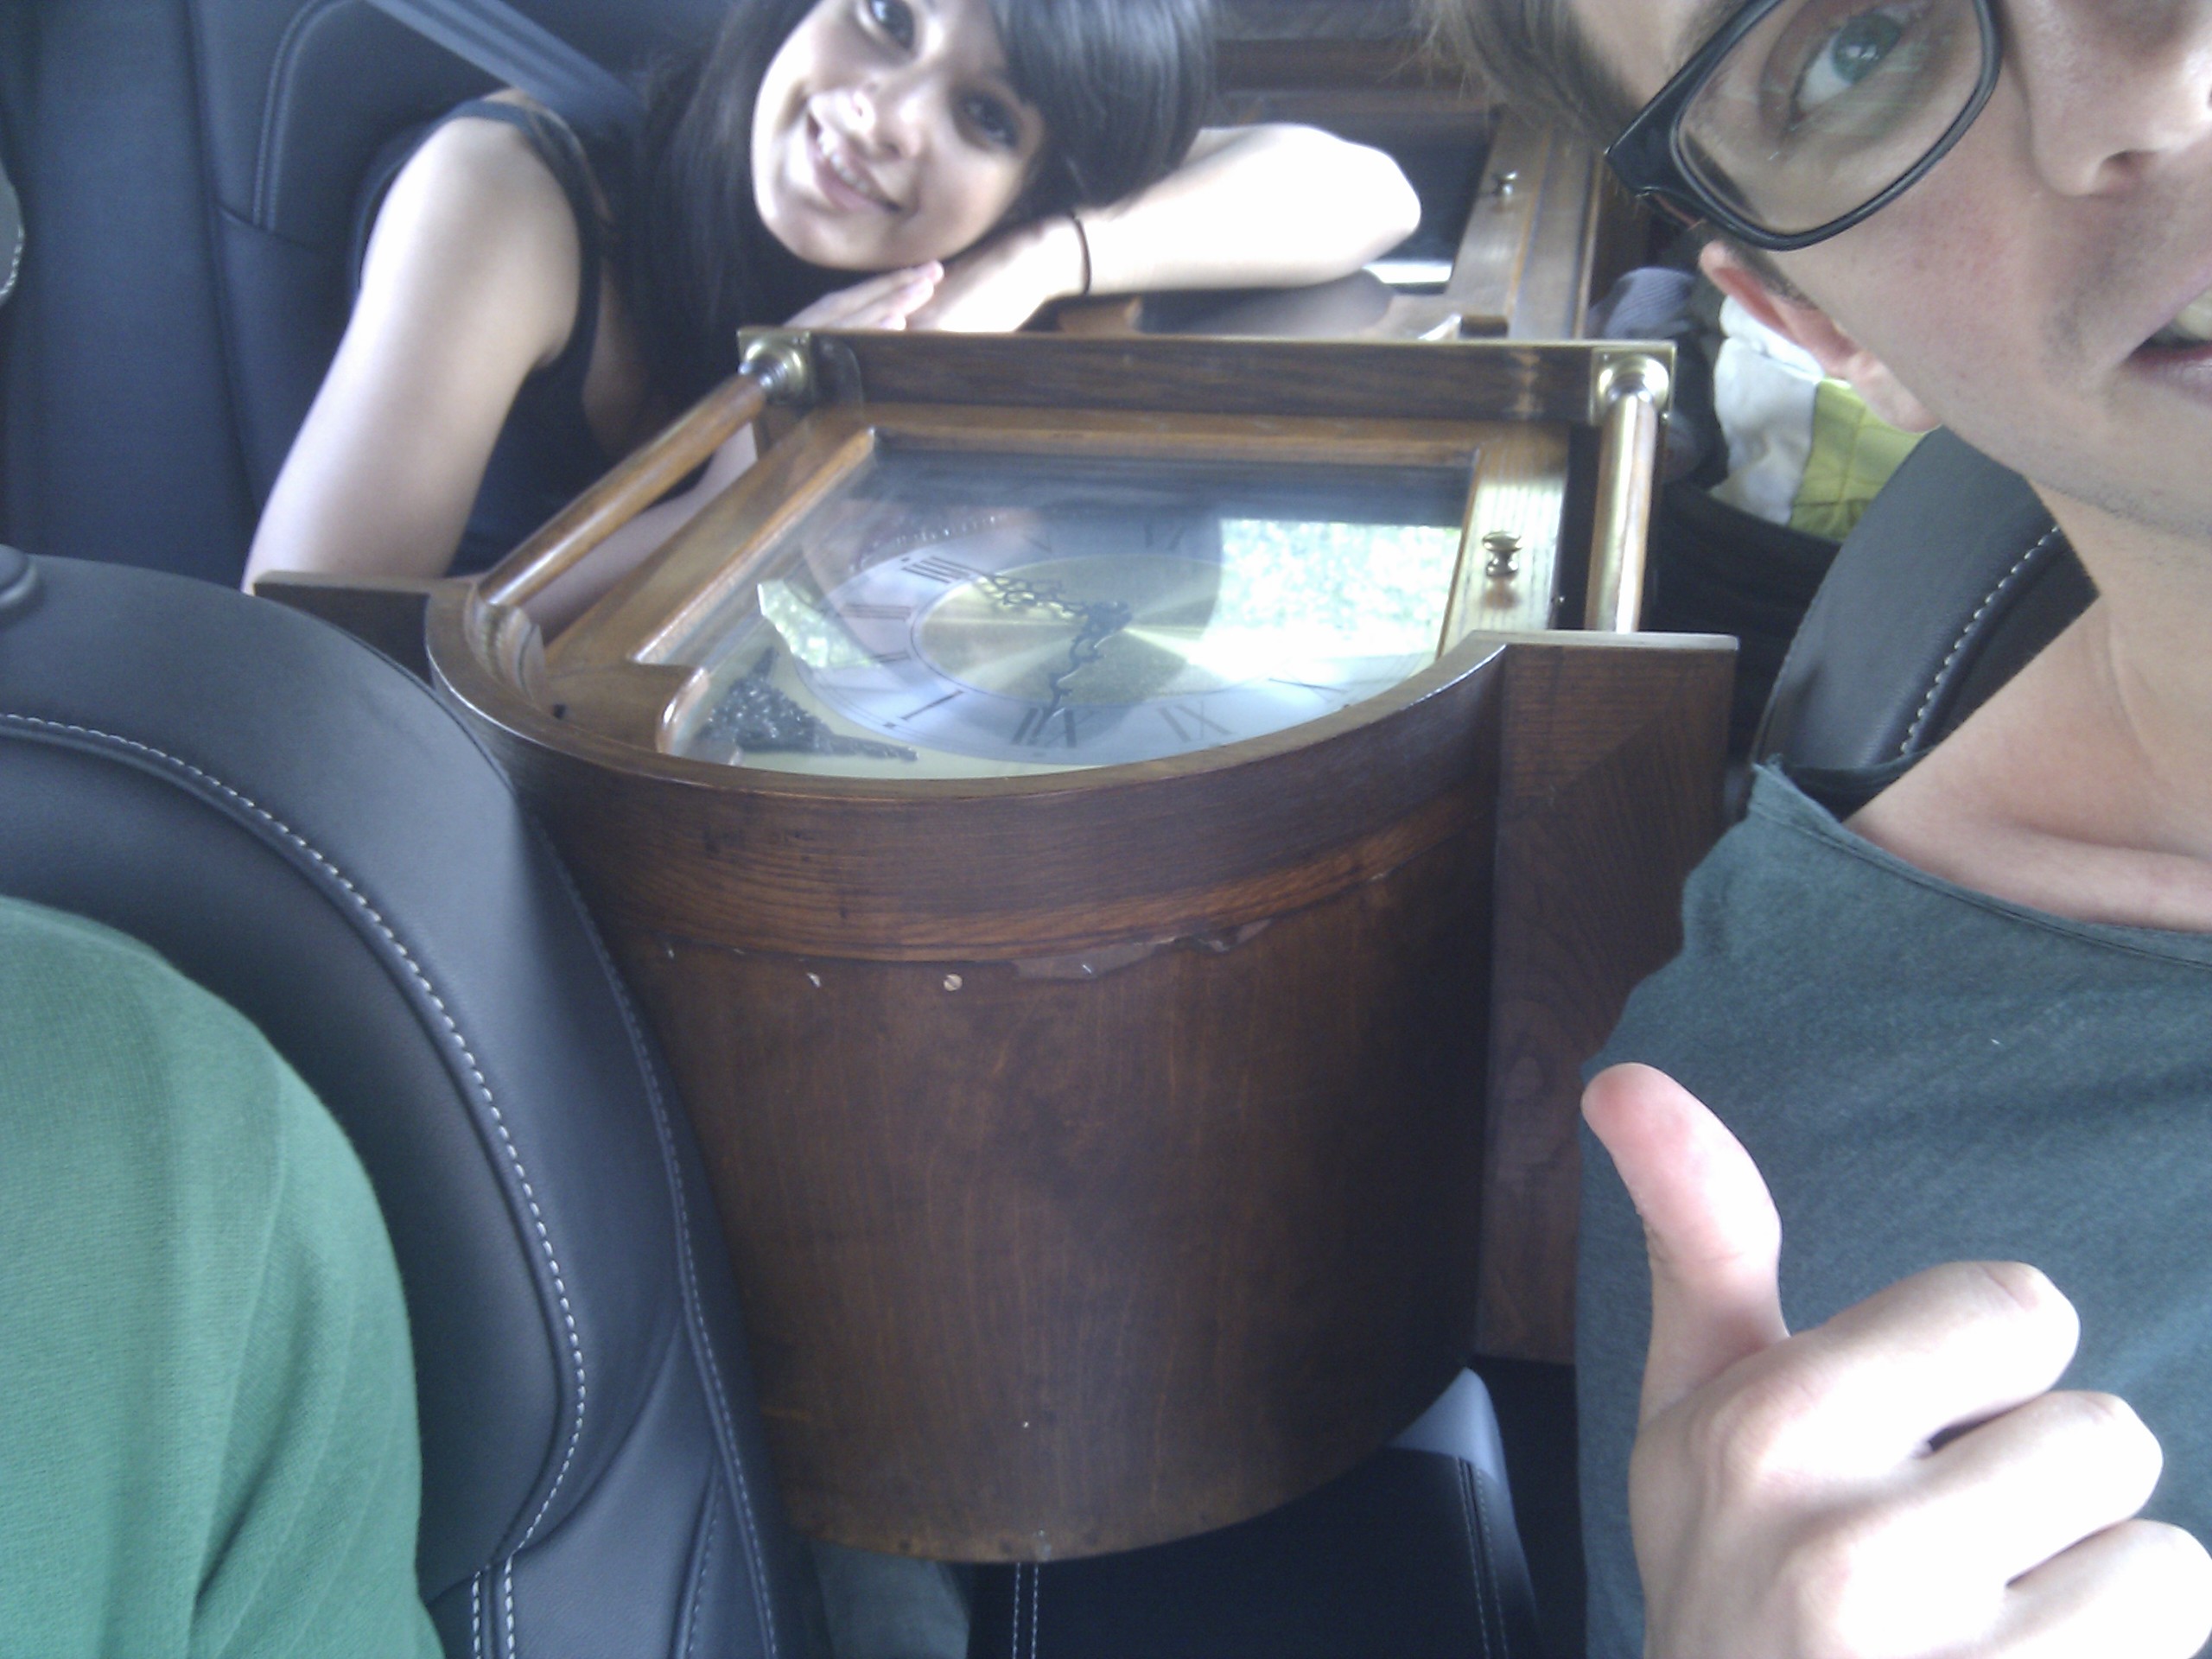
somewhat unhappy about that. But thanks to a happy coincidence we found our perfect clock on Ebay Classifieds.
Just an hour after finding the clock online we had it in our car, hitting the road back to the workshop.
In order to have the clock hands controlled by magic we had to remove the
entire clock unit and replace it with our own construction, made of acrylic glass. For the poles, which go from
the inside to the outside and to which the clock hands are connected, we used thin metal tubes. Watch the
animation below in order to understand what we did.
The poles are turned by regular off-the-shelf servo motors with a turn range of 180 degrees. By using a
gear train we managed to cover the full range of the clock.
This animation shows how the hands of the Magic Clock will be moved. As you can see we use a gear train to
move the poles. This is necessary because the servo motors we used only move 90degrees in each direction,
so 180 degrees total. With a gear train of 2:1 we manage to double that range so the hands of the clock can
move from 1 o'clock all the way to 12 o'clock and back.
The second animation was made by Cornelia Reithmeier and Claudius Böttcher as part of the pracitcal course 3D modeling with Blender" in the Summer of 2012.
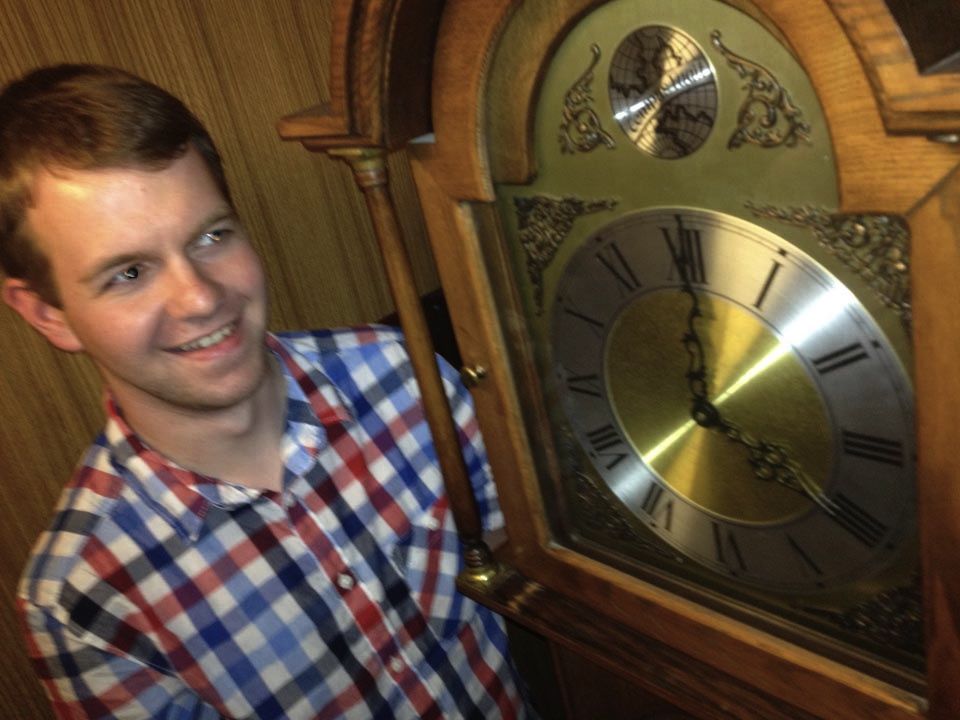
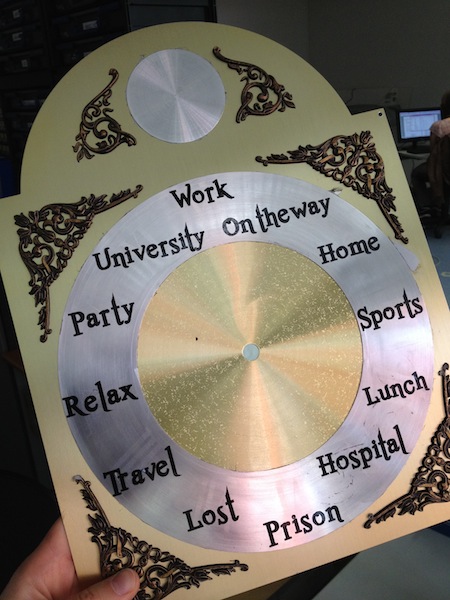
Clockface
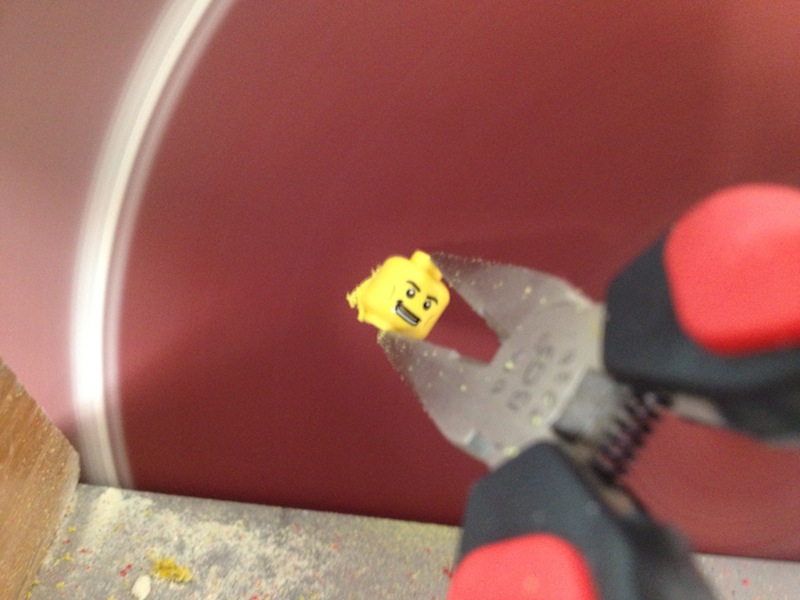
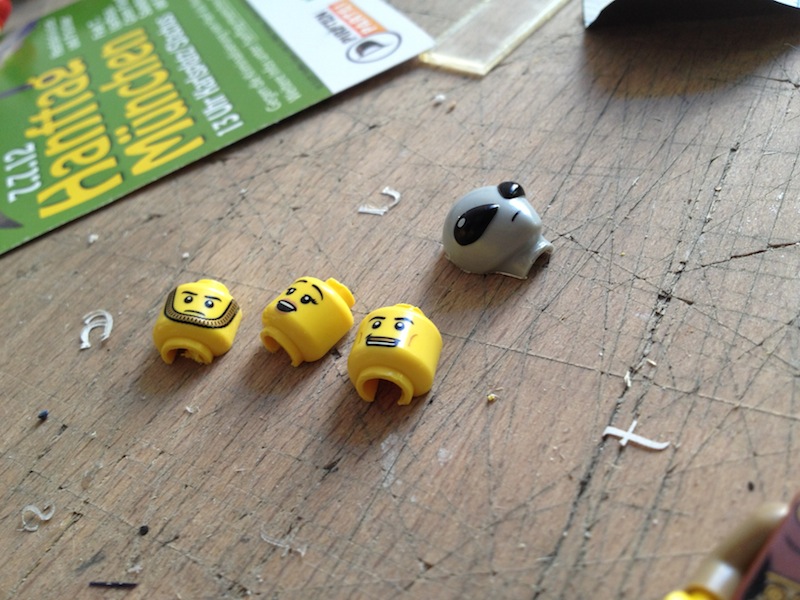
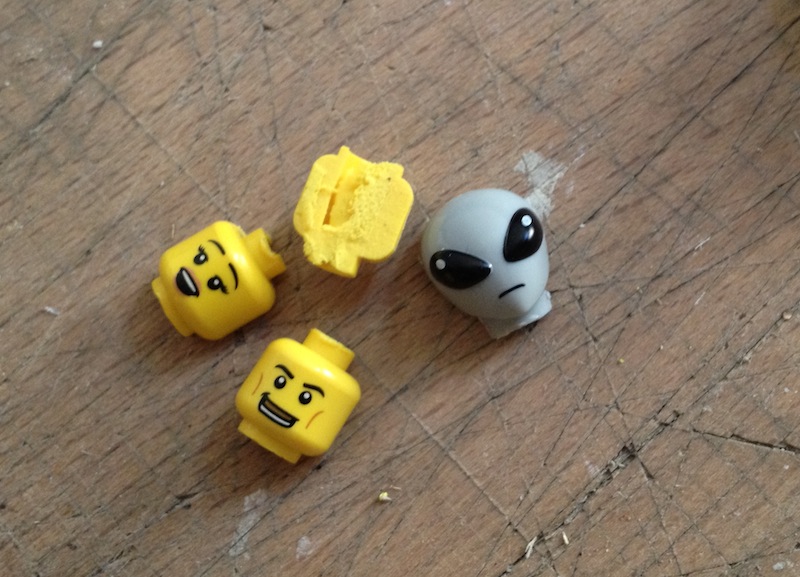
The clock shows two important things: persons and locations. Instead of the typical two- or three-handed clocks, we decided to upgrade and give a fourth hand to our clock. After all we are four guys on the team! Each of us is represented by a Lego man. To make it easier to stick the Lego heads onto the hands, we did a bit of grinding so that they were flat.
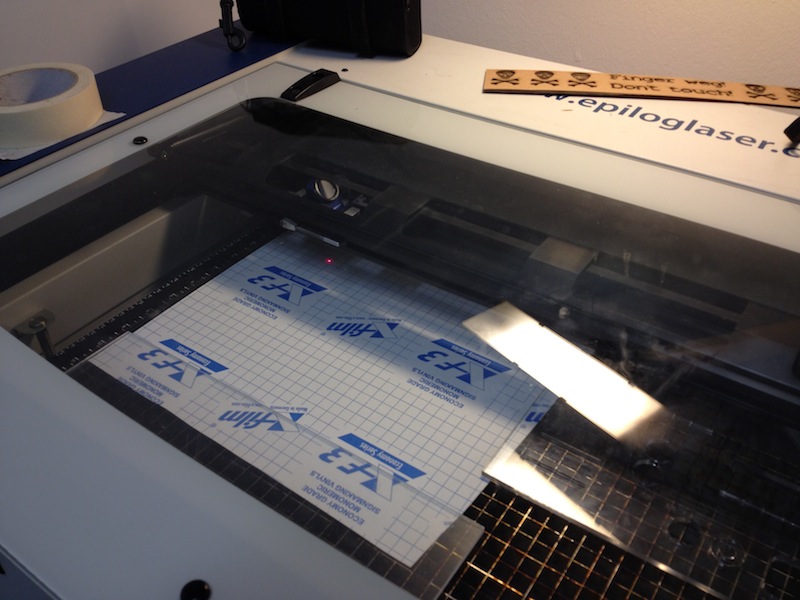
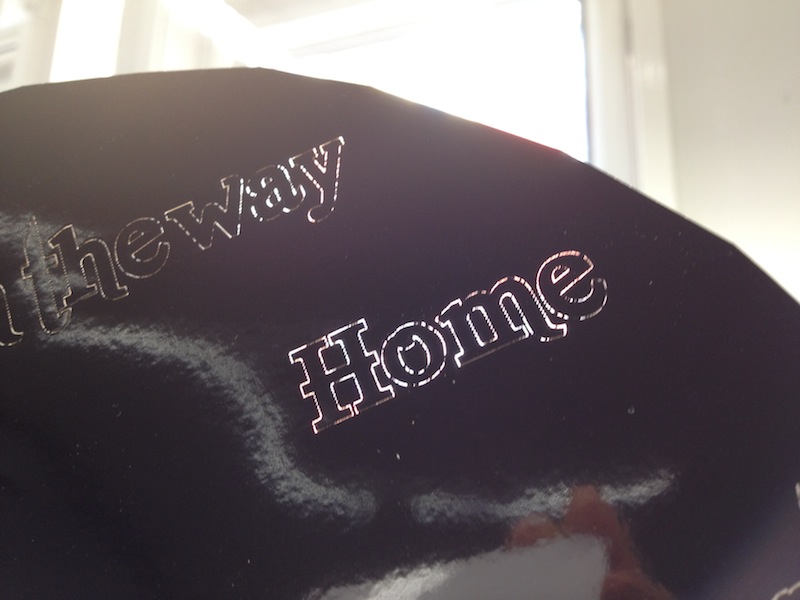
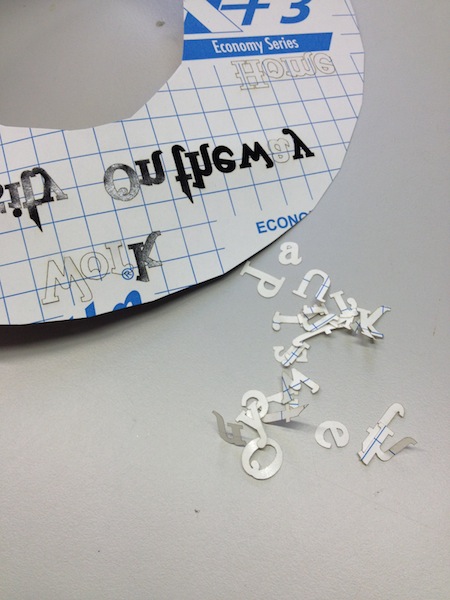
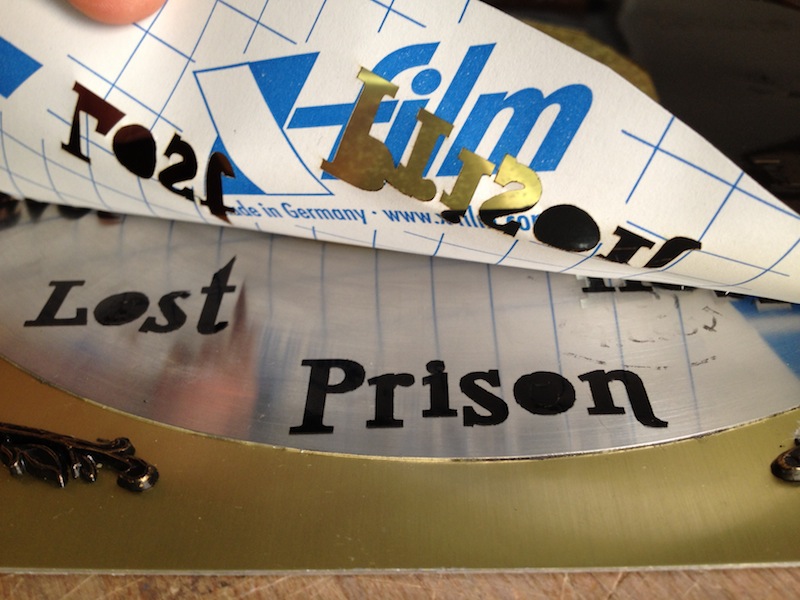
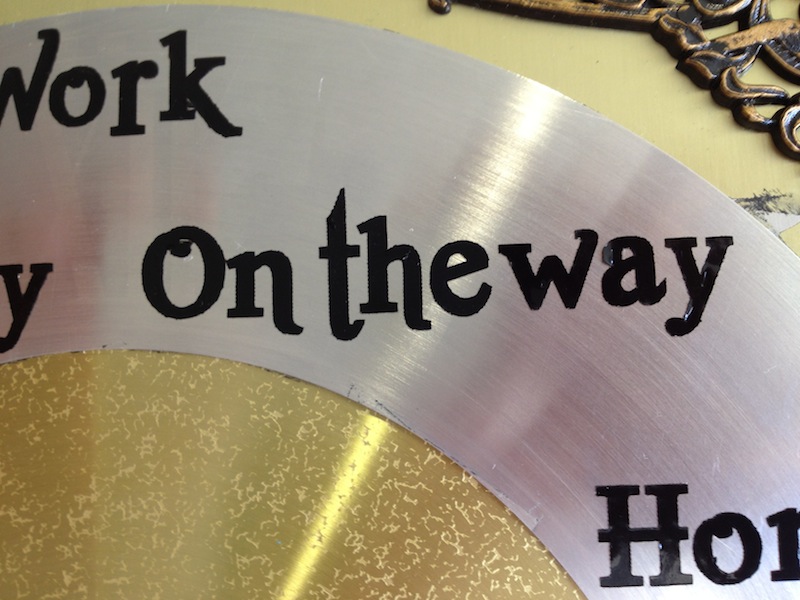
After we got the numbers off the clock face (even though they looked pretty), we had to find a way to put our locations on it. Well, luckily we found a quite handy solution for this: the wall tattoo technique that you may know from Ikea. So we created an Adobe Illustrator file for all the words like "University", "Home" or "On the way" and printed them on black sticky foil using a laser cutter. What the laser cutter actually did was cutting the words out, so we had custom stickers. Pro tip: We mirrored the words first and printed on the back side of the foil which worked nicely for us in the end when we had to peel the words off.


Webserver
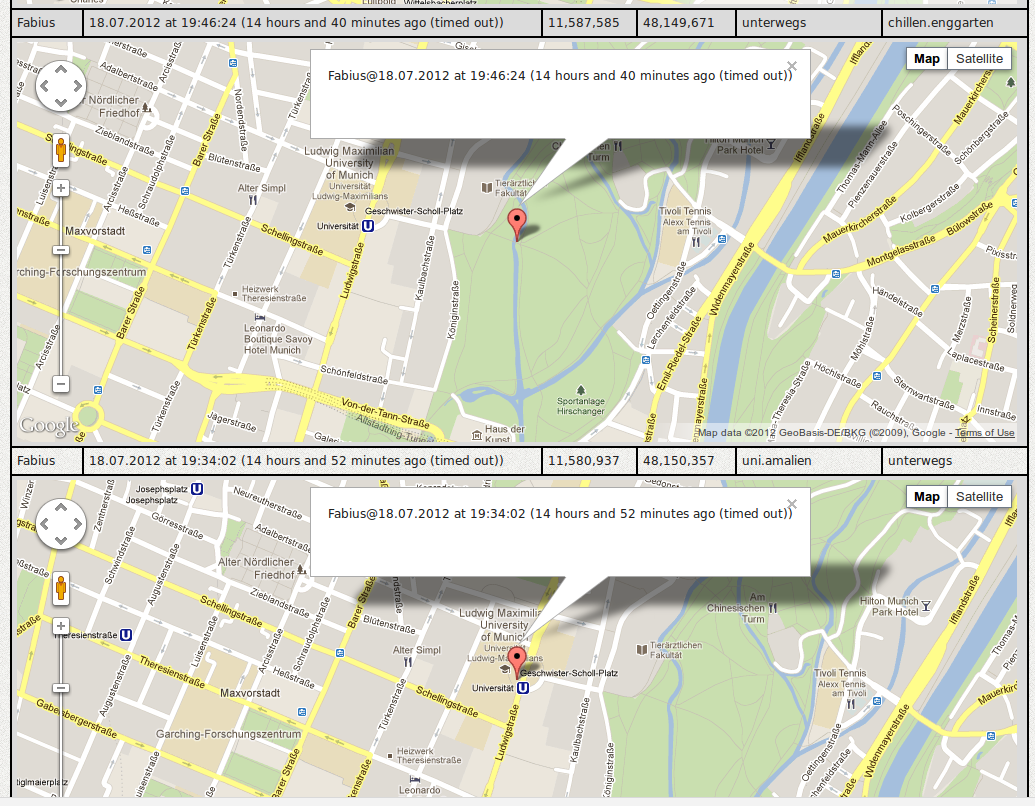
The webserver is built using groovy/grails, apache tomcat and mysql. It receives updates from the mobile clients via a REST interface like this:
{server-url}/rest/updateLocation?key=John&lon=-67.27478&lat=-55.975335&ans=xml
The server responds with an xml-answer with a status code. This way, the client is able to verify the correct update. The response looks like this:
	<updateLocation
		msg="Location updated successfully."
		locationOld="unterwegs"
		locationNew="chillen.enggarten"
		status="0"
	/>
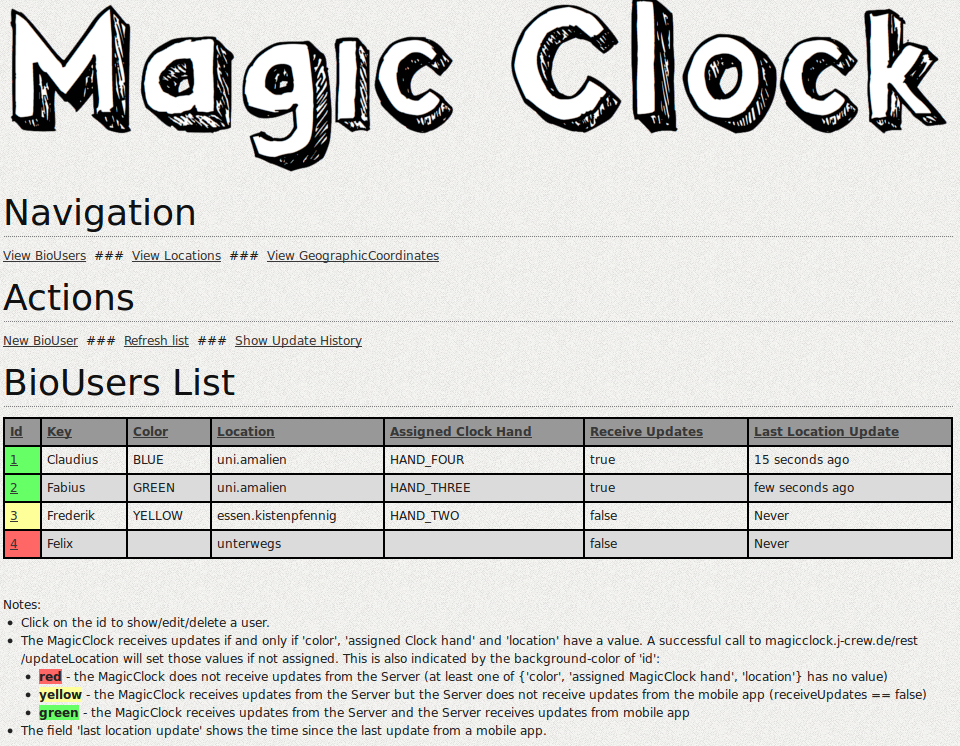
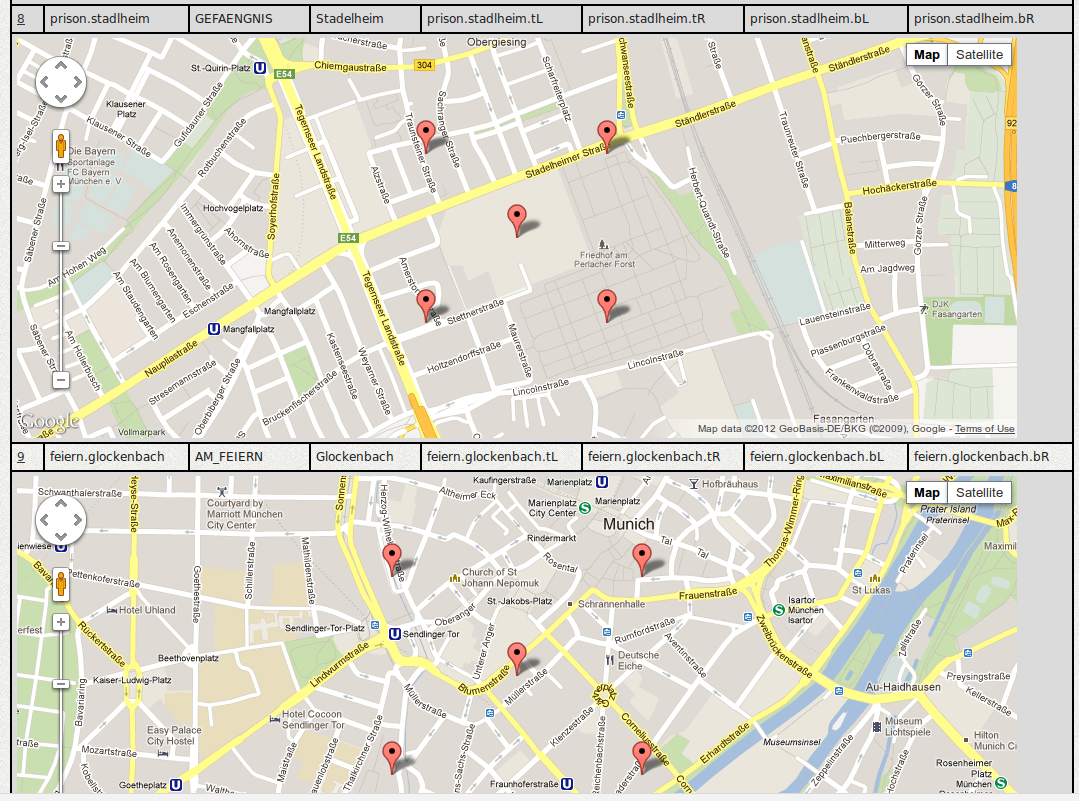
After successully calling rest/updateLocation the server identifies the corresponding user by
its key and looks for a free clock hand and color. If updates are enabled for this user and
there is a clock hand and color available, both are assigned to the user.To show the informations on the clock, it calls the server via
{server-url}/rest/getData
... and gets an answer like:
{00:07|04:11|02:02|03:02}
The clock mapps the codes to colors and clock hands and sends corresponding signals to the servos.The interface looks like this:

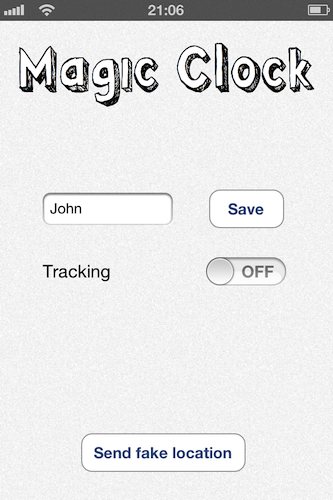
Mobile Clients
Obviously, the Magic Clock magically knows the the persons' locations. Just to have a backup though, we
built mobile clients that can send their current location to the webserver and thus to the Magic Clock.
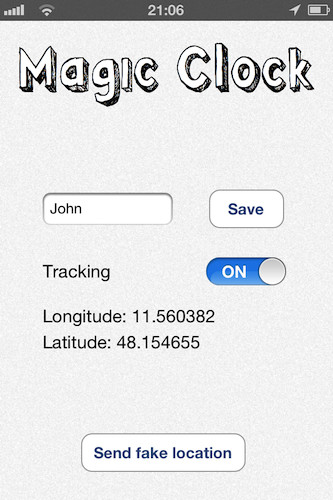
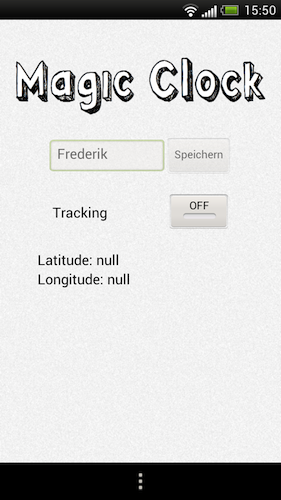
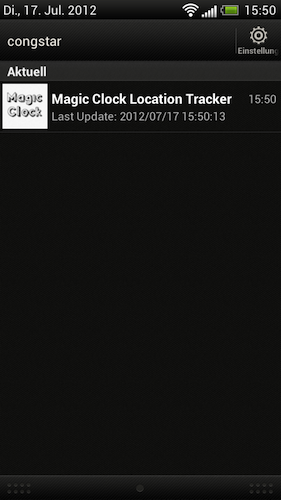
There is an Android app and an iPhone app, both of which contain the same core functionality. The Android
app runs as a service in the background and updates your location in a timed interval, whereas the iPhone
app sends its location whenever the device registers to a new cell tower. On Android your location is
always up-to-date and accurate. On your iPhone you can also send super-accurate and super-frequent updates
by simply keeping the app open and running.
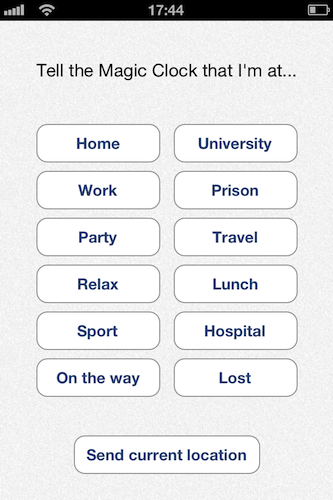
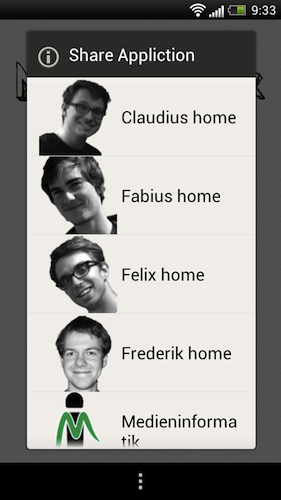
Both applications also support sending destined locations, either for testing purposes or just to clarify
your whereabouts when your phone's location isn't so super-accurate after all ;-)
iPhone App
Android App

![]()
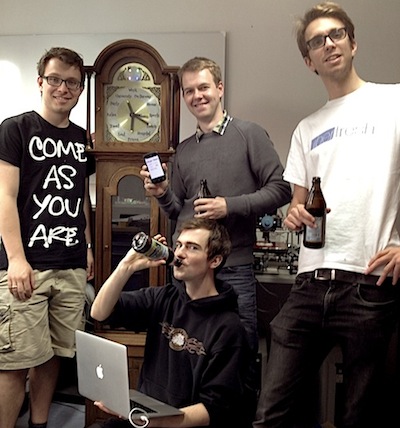
The Makers
We're four Media Informatics students from the University of Munich. We built this clock as part of our Building Interactive Objects course.
Frederik Brudy, Fabius Steinberger, Felix Praschak, Claudius Böttcher